Camper Shell Fitment Guide: The Definitive Handbook for a Perfect Match
Camper Shell Fitment Guide: The Definitive Handbook for a Perfect Match cars.truckstrend.com
A camper shell, also known as a truck cap or truck topper, transforms the open bed of your pickup truck into a secure, weather-protected, and versatile cargo area or even a rudimentary sleeping space. It’s an invaluable accessory for adventurers, tradespeople, and anyone seeking expanded utility from their truck. However, the true value and performance of a camper shell hinge almost entirely on one critical factor: proper fitment.
The Camper Shell Fitment Guide is not just about physically placing a shell on your truck; it’s a comprehensive understanding of the precise measurements, considerations, installation techniques, and ongoing maintenance required to ensure your shell integrates seamlessly with your vehicle. A well-fitted camper shell offers optimal security, weather resistance, structural integrity, and aesthetic appeal, maximizing your investment and enhancing your truck’s capabilities. Conversely, poor fitment can lead to leaks, damage, reduced security, excessive noise, and even dangerous driving conditions. This guide will walk you through every essential aspect of achieving that perfect match, ensuring your camper shell serves you reliably for years to come.
Camper Shell Fitment Guide: The Definitive Handbook for a Perfect Match
Why Proper Fitment is Crucial: More Than Just Aesthetics
The importance of precise camper shell fitment extends far beyond mere looks. It directly impacts safety, functionality, and the longevity of both your shell and your truck.
- Safety and Security: A properly secured shell prevents shifting during transit, which could be dangerous on the road. It also deters theft by keeping your cargo locked away and preventing easy access to the truck bed. Loose shells can cause rattling, excessive wear on the bed rails, and in extreme cases, even detach, posing a severe road hazard.
- Weather Protection: One of the primary reasons for a camper shell is to protect contents from rain, snow, dust, and UV rays. An impeccable seal between the shell and the truck bed is vital to prevent water intrusion, which can damage cargo, promote rust in the truck bed, and foster mildew growth.
- Structural Integrity and Longevity: Correct fitment distributes the shell’s weight evenly across the truck’s bed rails, preventing undue stress points that could lead to cracking or warping of either the shell or the truck bed. It minimizes vibrations and friction, extending the lifespan of both components.
- Fuel Efficiency: While minor, a well-aligned and flush-fitting shell can contribute to better aerodynamics compared to one with significant gaps, potentially offering a slight improvement in fuel economy.
- Resale Value: A shell that fits perfectly and has been properly maintained adds significant value to your truck. Conversely, a poorly fitted shell that has caused damage or looks unsightly can detract from it.

Key Measurements You Need: The Foundation of Fitment
Before you even consider purchasing a camper shell, accurate measurements of your truck bed are non-negotiable. Shells are highly specific to truck makes, models, and even trim levels due to variations in bed dimensions, tailgate designs, and cab heights.
- Truck Bed Length: This is the most critical measurement. Measure from the inside of the bulkhead (the wall closest to the cab) to the inside of the tailgate, with the tailgate closed. Ensure your measurement is accurate to the nearest inch. Truck bed lengths are often categorized as "short bed" (typically 5.5 to 5.8 feet), "standard/regular bed" (6.5 feet), or "long bed" (8 feet).
- Truck Bed Width: Measure the width of your truck bed at the widest point across the top of the bed rails. This ensures the base of the shell will sit correctly on the rails.
- Cab Height: If you’re aiming for a "cab-high" shell (one that is flush with your truck’s cab roofline), you’ll need to measure from the top of your truck’s bed rail to the highest point of your cab. This measurement is crucial for aesthetics and aerodynamics.
- Tailgate Clearance and Design: Note the design of your tailgate. Some shells are designed to wrap slightly over the top of the tailgate, while others sit flush with the bed rails. Modern trucks often have contoured tailgates or integrated spoilers that can interfere with certain shell designs.
- Bed Rail Profile: Observe the shape of your truck’s bed rails. Are they flat, rounded, or do they have integrated plastic caps? This affects the type of clamps and sealing material needed.

Practical Tip: Use a sturdy steel tape measure for accuracy. Take multiple measurements and average them. If your truck has an aftermarket bed liner or bed rail caps, consider how they might affect these measurements and the shell’s seating surface.
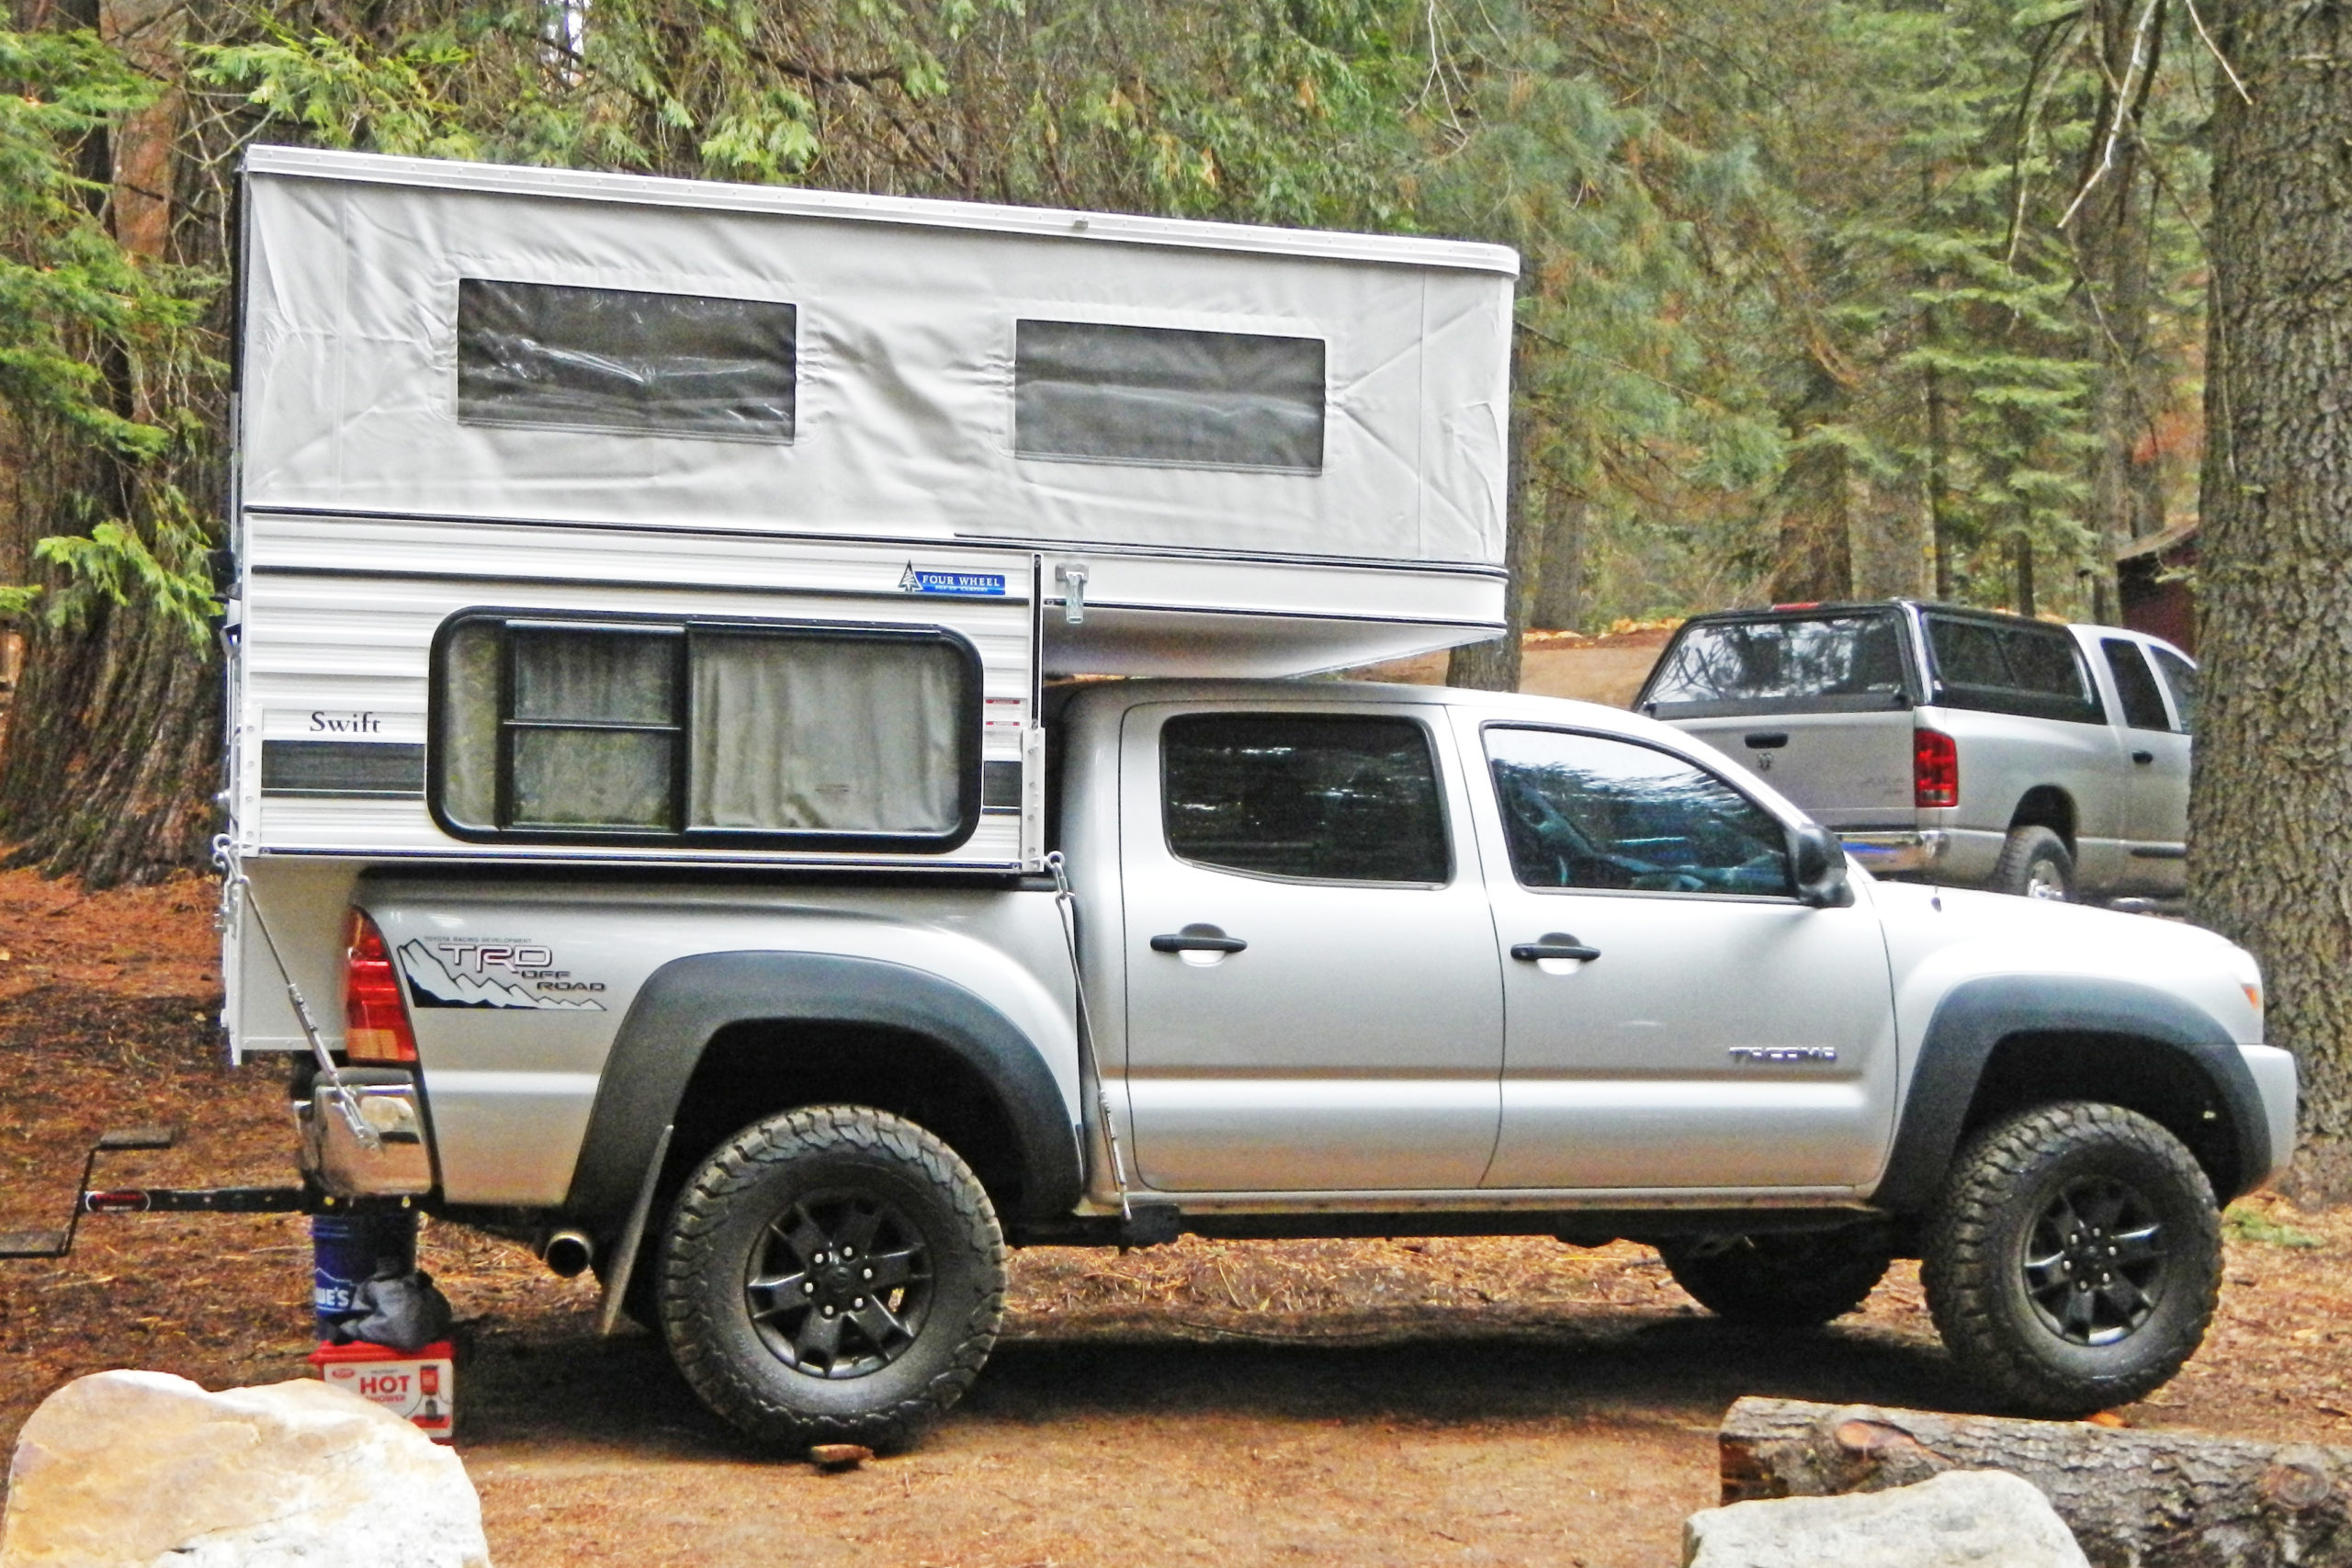
Types of Camper Shells and Their Fitment Considerations
Different shell styles offer varying benefits and present unique fitment challenges.
- Cab-High Shells: These are designed to match the height of your truck’s cab. Their primary fitment consideration is precise cab height matching for a factory-like, integrated look and improved aerodynamics. They offer good cargo protection without significantly altering the truck’s profile.
- Mid-Rise Shells: Slightly taller than the cab, these shells offer increased cargo volume without being overly bulky. While cab height matching is less critical for aesthetics, ensuring proper sealing and secure clamping remains paramount.
- High-Rise/Commercial Shells: Significantly taller than the cab, maximizing cargo space. Often used for work trucks, these prioritize utility over aesthetics. Fitment focuses heavily on robust clamping and comprehensive weather sealing, as they present a larger surface area to wind and rain.
- Wedge/Sport Shells: Featuring a sloped design from front to back, these are often chosen for aerodynamics or unique styling. Their fitment requires careful alignment to maintain the intended aesthetic and ensure the sloped roof doesn’t interfere with the truck’s cab during flexing.
- Material Considerations: Fiberglass shells are common, offering a smooth, paintable finish, but are heavier. Aluminum shells are lighter and more rugged, often used for commercial applications. The weight difference affects ease of installation and the type of lifting assistance required.
Factors Affecting Fitment: Beyond Basic Dimensions
Several external and internal factors can complicate or enhance the fitment process:
- Truck Make, Model, and Year: This is fundamental. Manufacturers design shells for specific truck generations. A 2015 F-150 shell will likely not fit a 2020 F-150 due to design changes.
- Bed Liners:
- Under-rail liners: Typically don’t interfere with shell fitment as they sit below the top of the bed rail.
- Over-rail liners: Extend over the top of the bed rails. These will interfere with the shell’s seating surface and clamping. Solutions include trimming the liner, using specific "over-rail" clamps, or removing the liner entirely. Trimming is common but must be done precisely to avoid creating gaps.
- Bed Caps/Rail Protectors: Similar to over-rail liners, aftermarket or factory bed caps can affect the shell’s ability to sit flush and form a tight seal. Some require removal, while others can be accommodated with specific sealing solutions.
- Toolboxes/Storage Systems: Any items permanently mounted in the truck bed that rise above the bed rails will interfere with the shell’s footprint. Plan accordingly, as the shell needs a clear, unobstructed perimeter on the bed rails.
- Lift Kits/Suspension Modifications: While not directly affecting the shell’s fit on the bed, these modifications alter the truck’s overall height, which can impact garage clearance or drive-thru accessibility once the shell is installed.
The Fitment Process: A Step-by-Step Guide
Proper installation is key to achieving optimal fitment. While professional installation is recommended for first-timers, here’s an overview of the process:
-
Preparation:
- Clean the truck bed rails thoroughly. Remove any dirt, debris, or old adhesive. A clean, smooth surface is crucial for a good seal.
- Apply the sealing material (e.g., bulb seal or foam tape) along the top edge of your truck’s bed rails where the shell will sit. Ensure it’s continuous and properly adhered to create a watertight barrier.
- Gather all necessary tools: clamps, measuring tape, level, wiring kit, cleaning supplies, and potentially shims.
-
Lifting and Positioning:
- This is typically a two to four-person job, depending on the shell’s size and weight. Never attempt to lift a shell alone.
- Carefully lift the shell and center it over the truck bed.
- Slowly lower the shell onto the bed rails, ensuring the front edge is flush with the bulkhead.
- Once initially seated, gently slide and adjust the shell until it is perfectly centered and squared on the bed, both front-to-back and side-to-side. Use a measuring tape to check the overhang on both sides.
-
Securing (Clamping):
- Use appropriate camper shell clamps (J-clamps or C-clamps designed for shells). The number of clamps needed varies by shell length, typically 4-8 clamps.
- Position clamps evenly along both sides of the shell, starting with the front and working your way back.
- Hand-tighten each clamp gradually, working in a cross-pattern (like tightening lug nuts on a wheel) to ensure even pressure distribution. This prevents warping the shell or the bed rails.
- Do not over-tighten! Excessive force can damage the shell, bed rails, or the clamps themselves. Just enough to compress the seal and secure the shell firmly.
-
Sealing Reinforcement (Optional but Recommended):
- After clamping, inspect the entire perimeter for any gaps in the seal.
- For added water protection, some installers apply a bead of silicone sealant along the outside seam where the shell meets the bed rails, particularly in the front corners near the cab.
-
Wiring (Third Brake Light & Interior Light):
- Most camper shells come with a third brake light and often an interior dome light.
- Run the wiring from the shell down into the truck bed, typically through a pre-drilled hole or along existing wiring harnesses.
- Connect the brake light wire to your truck’s brake light circuit (often by tapping into a taillight wire or trailer wiring harness).
- Connect the interior light wire to a constant 12V power source, often with an inline fuse for protection.
- Test all lights to ensure they function correctly before completing the installation.
-
Final Checks:
- Open and close the tailgate several times to ensure there’s no interference with the shell.
- Double-check all clamps for tightness.
- Perform a water test (e.g., using a hose) to identify any leaks and address them immediately.
Common Fitment Challenges & Solutions
Even with careful planning, issues can arise. Here’s how to tackle them:
- Gaps or Uneven Seating:
- Challenge: The shell doesn’t sit flush, or there are noticeable gaps.
- Solution: Check if the bed rails are warped or if your bed liner is interfering. Use shims (rubber or plastic pads) strategically placed under the shell’s base rail to fill gaps and level the shell. Ensure your sealing material is thick enough.
- Misalignment (Shell Not Squared):
- Challenge: The shell is crooked on the bed.
- Solution: Loosen all clamps slightly, then carefully shift the shell until it’s perfectly centered and square using measurements from multiple points. Re-tighten clamps evenly.
- Leaks:
- Challenge: Water is entering the truck bed.
- Solution: This is usually a sealing issue. Inspect the entire perimeter of the bulb seal for gaps, tears, or compression failure. Check the front corners near the cab, as these are common leak points. Apply additional silicone sealant or replace damaged sections of the seal.
- Tailgate Interference:
- Challenge: The tailgate rubs against the shell when opening/closing.
- Solution: The shell might be positioned too far back. Loosen clamps and gently slide the shell forward a tiny amount. If the shell’s design itself is the issue, shimming the shell slightly higher at the rear might provide clearance.
- Electrical Issues (Lights Not Working):
- Challenge: Third brake light or interior light not functioning.
- Solution: Check all wiring connections for tightness and proper insulation. Verify that the wires are tapped into the correct circuits. Use a multimeter to test for power. Check fuses in the truck’s fuse box or any inline fuses you installed.
Tools and Accessories for Optimal Fitment
Having the right tools makes the job easier and more secure:
- Measuring Tape: Absolutely essential for precise dimensions.
- Camper Shell Clamps: Specialized clamps designed to secure the shell without damaging the truck or shell.
- Bulb Seal/Foam Tape: High-quality sealing material to create a watertight barrier.
- Silicone Sealant (Outdoor/Marine Grade): For reinforcing seals, especially in corners.
- Wiring Kit: Includes appropriate gauge wire, crimp connectors, wire strippers, and possibly a fuse tap for electrical connections.
- Level: To ensure the shell sits perfectly level on your truck.
- Cleaning Supplies: Isopropyl alcohol, rags, and a brush for preparing the bed rails.
- Shims: Plastic or rubber shims for leveling and filling minor gaps.
- Safety Gear: Gloves and eye protection.
- Helper(s) or Lifting Aid: Essential for safely lifting and positioning the shell.
Professional Installation vs. DIY
The decision to install yourself or hire a professional depends on your comfort level, tools, and experience.
- DIY Installation:
- Pros: Cost savings, sense of accomplishment.
- Cons: Requires physical strength (or help), specialized tools, risk of damage if done incorrectly, potential for leaks or poor fitment without experience.
- Professional Installation:
- Pros: Expertise ensures a perfect, watertight fit; proper tools and techniques; often comes with a warranty on the installation; saves you time and effort.
- Cons: Higher upfront cost.
For those without prior experience or assistance, professional installation is highly recommended to guarantee proper fitment and avoid costly mistakes.
Maintenance for Optimal Fitment
Proper fitment isn’t a one-time event; it requires occasional attention to remain optimal.
- Regular Clamp Checks: Periodically (e.g., every 3-6 months or after off-roading), check all clamps to ensure they are still snug. Vibrations can cause them to loosen over time.
- Seal Inspection and Replacement: Over time, weather and UV exposure will degrade the rubber or foam seals. Inspect them annually for cracks, hardening, or compression failure. Replace seals as needed to prevent leaks.
- Cleanliness: Keep the area where the shell meets the bed rails clean of dirt and debris, which can compromise the seal.
- Hardware Inspection: Check hinges, locks, and gas struts on the shell’s windows and rear door for proper function and lubrication.
Cost Considerations for Camper Shell Fitment
Achieving perfect fitment isn’t typically a single "price tag" for the guide itself, but rather involves various costs associated with the installation process and necessary components. Here’s a breakdown of potential expenses:
| Category | Description | Estimated Cost Range (USD) | Notes |
|---|---|---|---|
| DIY Materials | |||
| Camper Shell Clamps | Set of 4-8 specialized clamps | $30 – $80 | Essential for securing the shell. Specific types for over-rail bed liners may be slightly more. |
| Bed Rail Seal Kit | Bulb seal or foam tape (15-25 ft roll) | $20 – $50 | Crucial for creating a watertight seal. High-quality seals last longer. |
| Silicone Sealant | Marine-grade or outdoor silicone, clear or black (1-2 tubes) | $5 – $15 | For sealing corners, small gaps, or reinforcing existing seals. |
| Wiring Kit | Connectors, wire, fuse tap for brake light/interior light | $15 – $40 | May be included with some shells, but often needs to be purchased separately. |
| Professional Services | |||
| Professional Installation | Labor cost for expert installation, including sealing and wiring. | $150 – $400 | Varies significantly by location, complexity of truck/shell, and installer. Often includes materials. |
| Removal & Reinstallation | Cost to remove an old shell and install a new one, or re-install after repair. | $100 – $300 | More complex than initial install if old seals need scraping. |
| Addressing Challenges | |||
| Custom Fabrication/Shimming | If bed rails are warped or shell requires leveling (materials & labor) | $50 – $200+ | For unusual fitment issues requiring custom spacers or minor modifications. |
| Bed Liner Trimming | Labor for precise trimming of over-rail bed liners | $40 – $100 | Often part of professional installation, but could be a separate charge. |
| Maintenance Items | |||
| Replacement Seal Kit | For periodic replacement of worn-out bed rail seals | $20 – $50 | Good to replace every 3-5 years, or if leaks appear. |
| Replacement Clamps | If original clamps are lost or damaged | $10 – $20 per clamp | Keep spares if possible. |
Note: These are estimated costs and can vary based on brand, quality, location, and specific truck/shell requirements. The cost of the camper shell itself is separate and can range from $1,500 to $5,000+.
Frequently Asked Questions (FAQ) about Camper Shell Fitment
Q1: How long does it take to install a camper shell?
A1: DIY installation can take anywhere from 1 to 3 hours, depending on experience and the complexity of wiring. Professional installation typically takes 30 minutes to 1.5 hours.
Q2: Can I use a camper shell from one truck on a different make/model/year truck?
A2: In most cases, no. Camper shells are custom-molded to fit specific truck bed dimensions, cab heights, and tailgate designs. Attempting to force a fit will result in gaps, leaks, and potential damage.
Q3: Do I need to drill holes in my truck to install a camper shell?
A3: Generally, no. Most modern camper shells are installed using clamps that secure the shell to the truck’s bed rails without requiring drilling. However, running wires for the third brake light or interior light might require drilling a small hole in the truck bed or using existing grommets.
Q4: How do I know what size camper shell I need for my truck?
A4: You need to know your truck’s exact make, model, and year, and its bed length (e.g., 2020 Ford F-150, 5.5-foot bed). Shell manufacturers produce models specifically for these dimensions. Always double-check your measurements against the shell’s specifications.
Q5: My truck has an over-rail bed liner. Will it interfere with the shell’s fitment?
A5: Yes, an over-rail bed liner will almost certainly interfere. You’ll either need to precisely trim the bed liner where the shell sits, use specialized "over-rail" clamps, or remove the liner entirely. Trimming is the most common solution.
Q6: How often should I check the fitment of my camper shell?
A6: It’s advisable to check the clamps and seals every 3-6 months, or more frequently if you regularly drive on rough roads or off-road. Seals should be inspected annually and replaced every few years or at the first sign of wear or leaks.
Q7: Can a poorly fitted camper shell damage my truck?
A7: Yes. Gaps can allow water intrusion leading to rust. A loose or shifting shell can rub and wear down paint and even metal on the bed rails. Uneven pressure from improper clamping can warp the shell or the truck bed.
Conclusion: The Perfect Fit for a Perfect Adventure
The Camper Shell Fitment Guide underscores a fundamental truth: the utility and enjoyment derived from your truck cap are inextricably linked to its proper fitment. It’s not merely an accessory; it’s an extension of your vehicle, and like any critical component, its integration demands precision and attention to detail.
By understanding the key measurements, recognizing the impact of various truck features, and meticulously following the installation process, you lay the groundwork for a secure, watertight, and aesthetically pleasing addition to your truck. Whether you opt for a professional installation or tackle it as a DIY project, remember that diligence in fitment pays dividends in safety, longevity, and peace of mind. Invest the time and effort to get it right, and your camper shell will reliably serve as your ultimate companion for work, travel, and adventure, perfectly complementing your truck for years to come.


