How To Make Any Size Truck Cap Fit On Your Tacoma: A Comprehensive Guide
How To Make Any Size Truck Cap Fit On Your Tacoma: A Comprehensive Guide cars.truckstrend.com
The Toyota Tacoma is a legendary mid-size truck, renowned for its reliability, off-road prowess, and versatile bed. For many Tacoma owners, a truck cap (or camper shell) is an essential accessory, transforming the open bed into a secure, weather-protected storage area or even a mini-camper. However, finding the perfect cap, especially a used one, can be a challenge. Most truck caps are designed to fit specific makes, models, and bed lengths precisely. This often leaves Tacoma owners wondering if that great deal on a cap from a Ford Ranger or a full-size Silverado could ever work.
The good news is, with a bit of ingenuity, some basic tools, and a clear understanding of the dimensions involved, you absolutely can make a non-Tacoma truck cap fit your beloved truck. This guide will walk you through the process, providing practical advice, step-by-step instructions, and crucial considerations to ensure a secure, functional, and aesthetically pleasing fit. By adapting an existing cap, you can save significant money, unlock unique customization options, and breathe new life into a pre-owned accessory.
How To Make Any Size Truck Cap Fit On Your Tacoma: A Comprehensive Guide
Understanding Tacoma Bed Dimensions and Cap Compatibility
Before you even think about buying a non-Tacoma cap, you need to understand the critical dimensions of your truck’s bed. The Tacoma’s bed width is the most crucial factor for a "fit," while length can often be managed with less complex modifications.
Key Tacoma Bed Dimensions (Approximate, Varies by Generation & Model Year):
- Outer Bed Rail Width: This is the measurement from the outside edge of one bed rail to the outside edge of the other. This is the primary measurement a truck cap rests on.
- Gen 2 (2005-2015) / Gen 3 (2016-Present) Tacoma: Approximately 58-60 inches (roughly 5 feet). This is narrower than many full-size trucks and even some older mid-size trucks.

- Inner Bed Rail Width: The distance between the inside edges of the bed rails.
- Bed Lengths: Tacomas typically come with a 5-foot (short bed) or 6-foot (long bed) option.
- Cab Height Clearance: The distance from the top of your bed rails to the top of your cab. This is important to ensure the cap doesn’t sit too high or too low relative to the cab for aesthetics and aerodynamics.
Cap Compatibility Considerations:
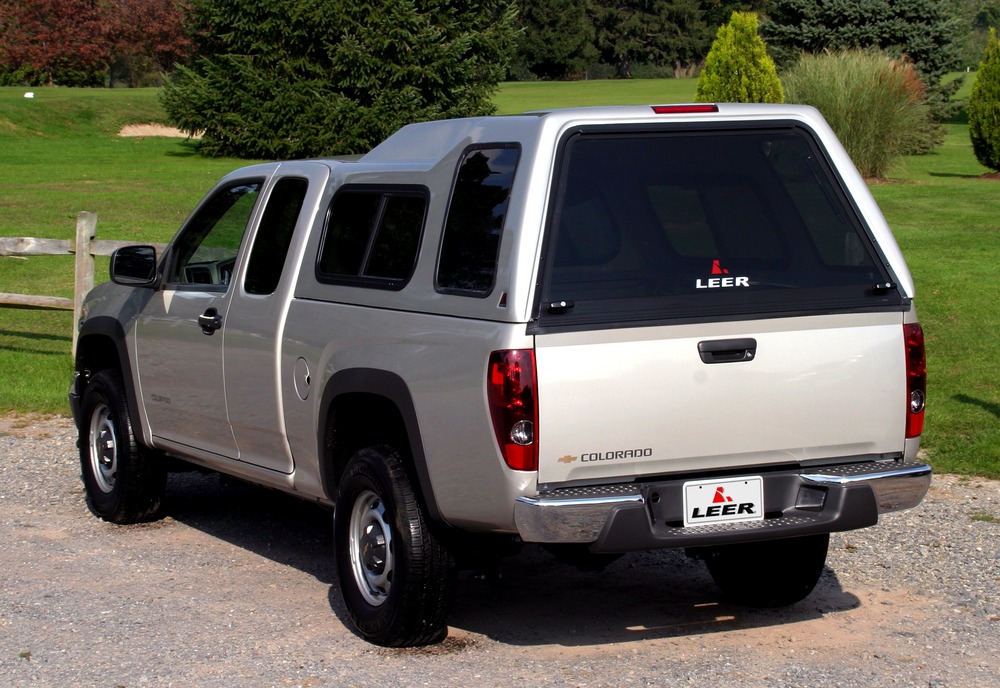
- Width is King: A cap that is significantly narrower than your Tacoma’s outer bed rails is generally not adaptable without major structural modifications to the cap itself, which is rarely recommended for DIY. The ideal scenario is a cap that is slightly wider than your Tacoma’s outer bed rails. This allows you to build a sub-frame or riser that extends the Tacoma’s effective rail width.
- Length is Manageable: If a cap is slightly shorter or longer than your Tacoma’s bed, there are usually workarounds. A shorter cap might leave a gap at the tailgate or bulkhead, while a longer one might overhang the tailgate.
- Height Matters: While not directly affecting the "fit" on the rails, the cap’s overall height relative to your cab is important for looks and potential wind noise.
Actionable Insight: Measure your Tacoma’s outer bed rail width precisely. When looking at a used cap, measure its inner bottom rail width. This comparison will tell you how much of a gap you need to bridge.
Tools and Materials You’ll Need
Successfully adapting a truck cap requires a selection of common tools and readily available materials.
Essential Tools:
- Measuring Tape: Crucial for all dimensions.
- Drill & Bits: For pilot holes and fasteners.
- Circular Saw, Jigsaw, or Miter Saw: For cutting wood or aluminum.
- Sander (Orbital or Belt): For smoothing cut edges.
- Clamps: To hold pieces during assembly and for securing the cap.
- Level: To ensure your cap sits straight.
- Caulking Gun: For applying sealants.
- Marker/Pencil: For marking cuts.
- Safety Glasses & Gloves: Always prioritize safety!
Required Materials:
- Lumber: 2x4s, 2x6s, or pressure-treated plywood (3/4" thick) are common for building sub-frames/risers.
- Aluminum Angle Iron or Steel Tubing: For a more durable or sleeker sub-frame, especially if you’re handy with metalworking.
- Weather Stripping: Bulb seal, closed-cell foam tape (various widths and thicknesses) for sealing gaps.
- Silicone Sealant (Marine Grade): For waterproofing critical joints.
- Bolts, Nuts, Washers: Galvanized or stainless steel for outdoor use.
- Self-Tapping Screws: For attaching wood/aluminum.
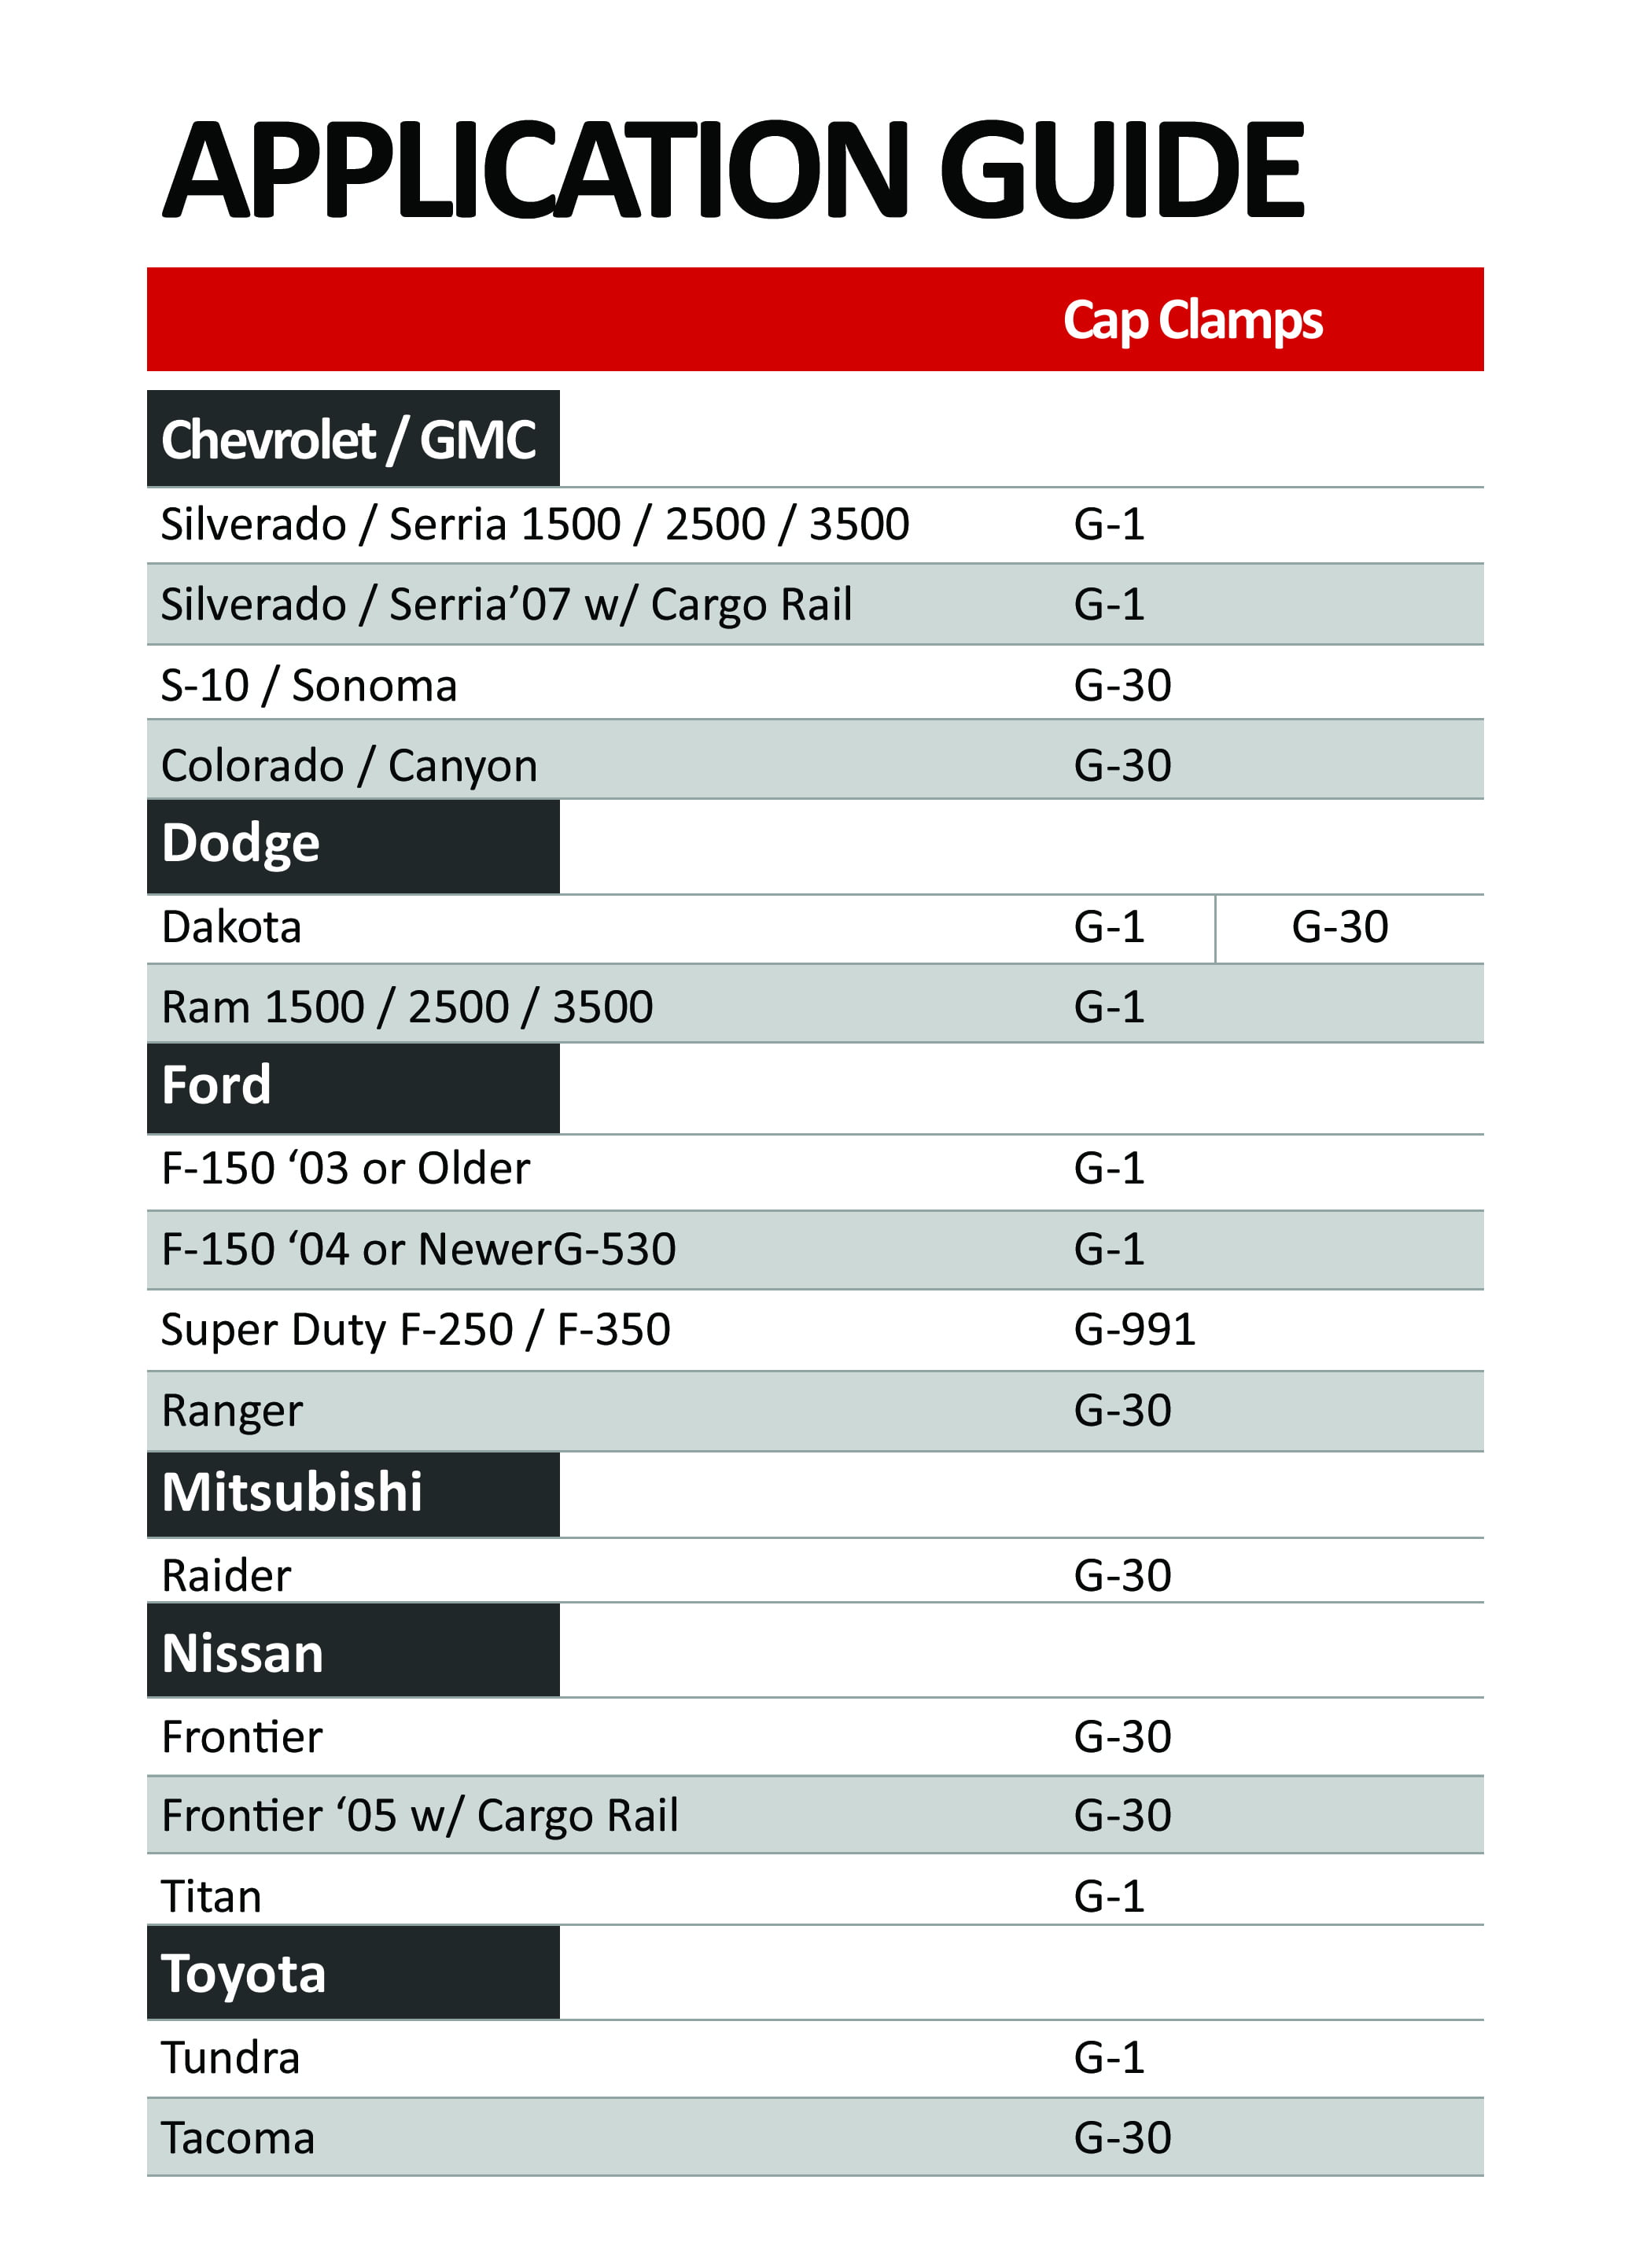
- Truck Cap Mounting Clamps: C-clamps or J-hooks designed for truck caps.
- Paint/Bed Liner Spray: To protect and aesthetically finish your custom sub-frame.
- Adhesive: Construction adhesive for bonding sub-frame components.
Step-by-Step Guide: Adapting a Wider Truck Cap (Most Common Scenario)
This is the most frequent modification: your desired cap is wider than your Tacoma’s bed rails. The solution is to build a custom sub-frame or riser that sits on your Tacoma’s rails and extends outwards to support the wider cap.
Phase 1: Planning and Measurement
- Measure Tacoma Outer Bed Rail Width: Get a precise measurement across the top of your Tacoma’s bed rails, from outside edge to outside edge.
- Measure Cap Inner Bottom Width: Measure the inside width of the cap’s bottom frame where it would normally rest on truck rails.
- Calculate Required Extension: Subtract your Tacoma’s outer bed rail width from the cap’s inner bottom width. Divide this difference by two to get the extension needed on each side.
- Example: Cap is 64" wide, Tacoma is 59" wide. Difference = 5". Extension per side = 2.5".
- Determine Sub-frame Material and Design:
- Wood (2x4s/2x6s): Simplest for DIY. You’ll create a rectangular frame.
- Plywood: Can be used to create custom-shaped risers.
- Aluminum Angle/Tubing: More durable, lighter, but requires more specialized tools (metal saw, possibly welding if not bolted).
Phase 2: Building the Sub-Frame/Riser
- Cut Longitudinal Supports: Cut two pieces of your chosen material (e.g., 2x4s) to the exact length of your Tacoma’s bed rails. These will run along the top of your Tacoma’s rails.
- Cut Transverse Supports/Spacers: Cut multiple shorter pieces that will create the desired extension. The length of these pieces will be (Tacoma rail width – material width) + (2 * required extension per side). These will connect the longitudinal supports and create the "shelf" for the cap.
- Consider using a simple "ladder" frame design with multiple cross-members for stability.
- Assemble the Sub-Frame:
- Lay out your two long pieces parallel to each other, spaced to match your Tacoma’s outer bed rail width.
- Attach the shorter transverse pieces across them, creating the extension. Ensure the total width of the outer edges of your sub-frame (where the cap will rest) matches the cap’s inner bottom width.
- Use screws (pre-drill to prevent splitting wood) and construction adhesive for strong joints.
- Ensure the frame is square and level.
- Seal and Protect: Sand any rough edges. Apply multiple coats of paint or bed liner spray to the entire sub-frame. This protects the wood from moisture and gives it a finished look. Allow it to dry completely.
- Apply Weather Stripping: Apply heavy-duty bulb seal or thick closed-cell foam tape to the bottom of your sub-frame, where it will rest on the Tacoma’s bed rails. Also, apply weather stripping to the top of the sub-frame where the cap will sit.
Phase 3: Installing the Cap
- Place Sub-Frame: Carefully position the completed sub-frame on your Tacoma’s bed rails. Ensure it’s centered and aligned properly.
- Secure Sub-Frame to Tacoma (Optional but Recommended): While the cap will hold it down, consider using a few small bolts through the sub-frame into the Tacoma’s bed rails (pre-drill, use washers). Alternatively, you can use a few cap clamps temporarily at this stage.
- Lift and Position Cap: With the help of friends, carefully lift the truck cap onto the sub-frame. Take your time to center it perfectly.
- Check Fit and Level: Once the cap is down, check for levelness and evenness. Make any minor adjustments to the sub-frame’s position.
- Secure the Cap: Use truck cap mounting clamps (C-clamps or J-hooks) to secure the cap to the sub-frame. Ensure even pressure distribution along both sides. Typically, 4-6 clamps are sufficient.
- Final Sealing: Apply marine-grade silicone sealant to any remaining visible gaps between the cap and the sub-frame, especially around corners and where the cap’s seals meet the sub-frame.
Adapting a Shorter or Longer Truck Cap
While width is primary, length can also be addressed:
- Shorter Cap (Common): If the cap is shorter than your bed, it will leave a gap at either the bulkhead (front) or the tailgate (rear).
- Tailgate Gap: This is often the easiest to manage. You can purchase an extended tailgate seal (a flexible rubber strip) that attaches to the cap’s rear lip and seals against the tailgate. Some owners opt to build a small, sealed platform at the very rear of the bed to bridge the gap.
- Bulkhead Gap: Less common for aesthetics, but can be sealed with custom-cut foam or a small, built-up section of plywood.
- Longer Cap (Less Recommended): A cap that is significantly longer will overhang the tailgate or even the cab.
- Tailgate Overhang: If it only overhangs the tailgate by a few inches, it might be acceptable and sealed with an extended tailgate seal.
- Cab Overhang: This is generally not recommended. It looks awkward, can interfere with the cab, and significantly impacts the cap’s structural integrity if you attempt to cut it down. Cutting a fiberglass or aluminum cap accurately and safely is a major undertaking best left to professionals, if at all possible. It’s usually better to find a different cap.
Addressing Height and Leveling Issues
Sometimes a cap might sit too low or too high relative to your cab, or appear uneven.
- Adjusting Height: The sub-frame you build can inherently adjust height. Using taller lumber (e.g., 2x6s instead of 2x4s) will raise the cap. If you only need a slight adjustment, shims made of plywood or rubber can be placed between the sub-frame and the cap, or between the sub-frame and the bed rails.
- Leveling: Use a level on the cap itself after installation. If it’s off, you might need to adjust the thickness of the weather stripping or add shims under specific points of the sub-frame or cap until it’s perfectly level.
Sealing and Weatherproofing
A well-fitted cap is only as good as its seal. Water and dust ingress can ruin cargo.
- Primary Seal: The weather stripping applied to the top and bottom of your sub-frame is the first line of defense. Ensure it’s thick enough to compress and create a tight seal.
- Silicone Sealant: Use marine-grade silicone around any exposed seams, especially where the cap meets the sub-frame, and around the edges of windows or doors if they seem compromised.
- Bulkhead Seal: The gap between the front of your bed and the cab can allow water in. Many Tacomas have a small rubber strip there, but you can augment it with additional foam tape or a specific bulkhead seal product.
- Drainage: If your cap has internal drains (e.g., from windows), ensure they route water outside the bed.
Securing the Cap to the Tacoma
Safety is paramount. A cap that isn’t properly secured can become a dangerous projectile in an accident or even at highway speeds.
- Standard Clamps: The most common method uses C-clamps or J-hooks that hook under the bed rail and clamp onto the cap’s frame. For a DIY sub-frame, these clamps will attach the cap to the sub-frame, which then sits on the Tacoma’s rails.
- Sub-Frame to Tacoma: While the weight of the cap and the clamps will hold the sub-frame down, for added security, you can drill a few holes through the sub-frame and bolt it directly to the Tacoma’s bed rails. Use large washers and seal the holes thoroughly.
- Distribute Clamps: Use at least 4-6 clamps, evenly spaced along the sides of the cap, to distribute the holding force and prevent warping.
Important Considerations and Potential Challenges
- Weight Distribution: A heavy cap can affect your truck’s center of gravity, especially if it’s tall. Be mindful of payload capacity.
- Rear Visibility: Ensure the cap’s rear window provides adequate visibility. Tinted windows on the cap can further reduce visibility.
- Aesthetics: While functional, you want it to look good. Matching paint, neat cuts, and proper sealing contribute to a professional finish.
- Electrical Connections: If the cap has a third brake light or interior lights, you’ll need to run wiring from your Tacoma’s taillight harness. This usually involves tapping into existing wires.
- DIY Skill Level: While manageable for most DIYers, patience and attention to detail are crucial. If you’re uncomfortable with power tools or precise measurements, consider getting help.
- Resale Value: A highly customized cap might not appeal to future buyers, though the cost savings often outweigh this.
Practical Advice and Actionable Insights
- Measure Thrice, Cut Once: Seriously. Double-check every measurement before making any cuts.
- Don’t Rush: Take your time with each step, especially the measuring, cutting, and sealing.
- Prioritize Safety: Secure mounting is non-negotiable. Ensure clear rear visibility.
- Start with a "Close Enough" Cap: The less adaptation required, the easier and more robust the final result will be. Aim for a cap that’s only slightly wider, and ideally the correct length.
- Test Fit Frequently: Place components, check alignment, and make small adjustments before final assembly.
Estimated Cost of Making a Truck Cap Fit (DIY Materials)
The cost of the cap itself will vary wildly depending on its condition, age, and features. This table focuses on the materials you’d likely need for the adaptation process.
| Item/Service | Estimated Cost Range (USD) | Notes |
|---|---|---|
| Sub-Frame Materials: | ||
| Lumber (2x4s/2x6s, 8-12 ft) | $30 – $70 | Pressure-treated recommended for longevity. |
| Plywood (3/4" exterior grade, 4×8 sheet) | $50 – $100 | If building a solid platform or more complex risers. |
| Aluminum Angle Iron (10-20 ft) | $40 – $100 | Lighter, rust-proof alternative to wood; may require specific cutting tools. |
| Fasteners & Adhesives: | ||
| Wood Screws/Bolts/Nuts/Washers | $15 – $30 | Stainless steel or galvanized for outdoor use. |
| Construction Adhesive | $5 – $15 | For strong, permanent joints in sub-frame. |
| Marine-Grade Silicone Sealant | $10 – $20 | Essential for waterproofing. |
| Sealing & Protection: | ||
| Weather Stripping (Bulb Seal, Foam Tape) | $20 – $50 | Varies by type and length needed. Crucial for water/dust proofing. |
| Spray Paint / Bed Liner Spray | $15 – $40 | For protecting and finishing the sub-frame. |
| Mounting Hardware: | ||
| Truck Cap Mounting Clamps (4-6 pack) | $20 – $50 | Specific J-hook or C-clamp types for truck caps. |
| Miscellaneous (Optional): | ||
| Electrical Wire/Connectors (for brake light) | $10 – $25 | If your cap has a third brake light or interior lights. |
| Tailgate Seal Extension | $20 – $40 | If the cap is shorter and leaves a gap at the tailgate. |
| Total Estimated DIY Materials Cost | $235 – $640 | Excludes the cost of the cap itself and specialized tools you might need to purchase or rent. |
Note: Prices are estimates and can vary based on location, material quality, and current market conditions. Professional installation or significant metal fabrication would incur much higher costs.
Frequently Asked Questions (FAQ)
Q1: Is it safe to put a non-Tacoma cap on my truck?
A1: Yes, absolutely, if done correctly and securely. The key is proper measurement, a robust sub-frame (if needed), and secure clamping/bolting. A poorly fitted or unsecured cap can be dangerous.
Q2: Will making these modifications affect my truck’s warranty?
A2: Generally, modifications to the truck bed for accessories like caps do not void the primary vehicle warranty, as long as they don’t directly cause a failure in a warranted component. However, specific accessory warranties might be affected.
Q3: Will a modified cap leak?
A3: Not if you take the time to properly seal all contact points. Use high-quality weather stripping and marine-grade silicone sealant on all seams and gaps.
Q4: Can I cut a fiberglass truck cap to make it fit?
A4: Cutting a fiberglass cap is extremely difficult for a DIYer. It compromises the cap’s structural integrity, is hard to do cleanly, and is very challenging to re-seal effectively. It’s generally not recommended. Aluminum caps are slightly easier to cut but still pose significant challenges.
Q5: How much wider can a cap be than my Tacoma’s bed?
A5: You can typically adapt a cap that is 4-8 inches wider than your Tacoma’s bed (meaning 2-4 inches of extension on each side). Beyond that, the sub-frame becomes very wide, potentially looking awkward and making securing more challenging.
Q6: What about the third brake light on the cap?
A6: Most caps have a third brake light. You’ll need to run a wire from the cap’s brake light to your Tacoma’s taillight harness and tap into the brake light circuit. Many auto parts stores sell wiring kits for this purpose.
Q7: Will this affect my fuel economy?
A7: Any truck cap adds weight and changes the aerodynamics of your truck, which can slightly decrease fuel economy. The impact is usually minor, but it’s a consideration.
Conclusion
Making an "any size" truck cap fit your Toyota Tacoma is a rewarding project that combines practical skills with creative problem-solving. By understanding the critical dimensions, carefully planning your sub-frame, and meticulously executing the installation and sealing steps, you can transform a non-native cap into a perfectly integrated accessory for your truck. This DIY approach not only offers substantial cost savings compared to buying a brand-new, model-specific cap but also provides the satisfaction of a custom solution. Embrace the challenge, take your time, and enjoy the enhanced utility and unique look your adapted truck cap brings to your Tacoma adventures.

